Share
Pin
Tweet
Send
Share
Send
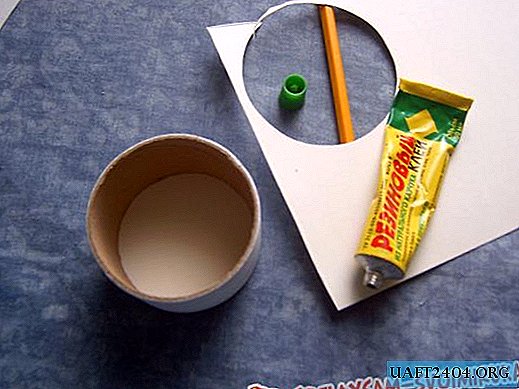
Next, we start working with the skin. In our version, a square of thin suede is used. He will give the box extra strength and will make it more neat transition from the bottom to the side surface. We put the box in the center of the square smeared with glue and pull the corners, glue them to the side surface. Suede will fold into folds - distribute them evenly. You can apply an additional layer of glue and lay them as they should, without rushing.

Then you need to fill in the remaining empty spaces. Try to pick up pieces of leather that are the same in thickness - then your product will look neater.
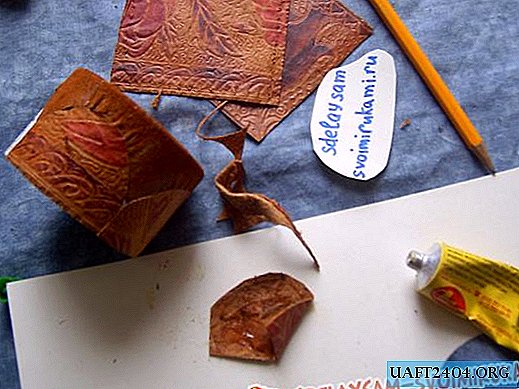
Use a simple pencil in order to cut out pieces that are suitable in size - just lay them on top and circle around the protruding border of the already glued suede.
Now you need to make a cover. Cut a strip and two circles (as cut for the bottom). It is better that the cardboard is not thick and rough, it is more convenient for working with glue. We draw a scoring line on the strip using a ruler and a sharp object (it is convenient to use the edge of the scissors or the blunt side of the knife, but just do not cut through). Fold a strip along the drawn line, and then cut triangles on it.

Glue the cloves and the end of the strip with glue, wrap it around the box and fasten with an overlap. Also glue on top all the cloves (on a circle previously set on top).

Then stick on top the second cooked circle - you get the base of the lid.
Then you can apply the same technique as when gluing the bottom - to bring the edges of the glued skin on the side surface of the lid. If you glue the lid in small pieces in the form of a mosaic - try to act in the same way so that the transition of the planes is completely closed. Now you can glue the inner surface - and the box is ready.

Share
Pin
Tweet
Send
Share
Send

