Share
Pin
Tweet
Send
Share
Send
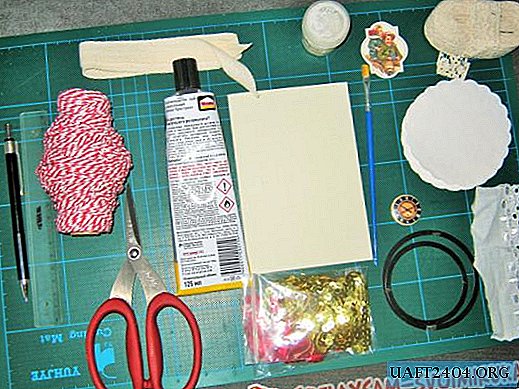
This workshop is about making a funny snowman. To work, you need to collect the following materials:
- color sheet - work background;
- white napkins;
- colored napkins (blue and pink);
- tube with PVA glue;
- felt-tip pens.
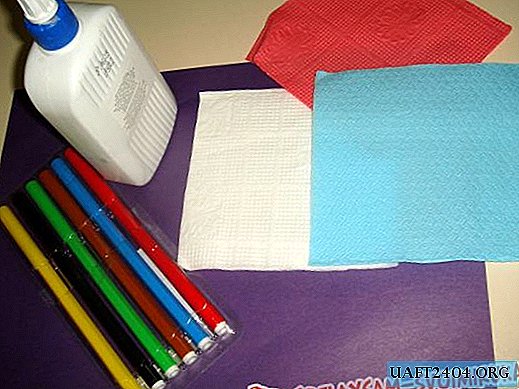
For the base, you can use any colored paper or cardboard. Our craft will be white, so the background should be dark. Purple colored paper is great.
First, determine the number of balls for the snowman (there may be two, three or more). Apply PVA glue to the base, as if drawing a snowman.

Then take one white napkin and form a ball. Try not to squeeze thin paper so tightly that you get a bulk blank.

Glue the largest ball below.

Then form two more balls, a little smaller. And apply glue to the places where the hands and feet of the snowman will be.

To make them, you need to divide one napkin into four equal parts and form oval blanks.

From a colored napkin, you can make a hat and stick it on top.

It remains only with felt-tip pens to draw the face of a snowman and buttons. Although, these parts can also be twisted from napkins.

Funny volumetric snowman from napkins is ready!

You can add an application loved by other details. For example, let it snow (small tight balls from a white napkin), or the hero will have a broom or a shovel in his hands (napkins are twisted into flagella).
At the same time, my daughter worked with me. She made two balls, a pink hat, as she has a "snow girl" and not a snowman. It turned out very nice.


Children really like this kind of work, since you don’t need to use scissors to cut out complex elements, but only paper forms. Each time you can come up with new works: a Christmas tree in the snow, a bouquet of flowers, birds on a twig, a tree in flowers and much more. At the initial stages, you can offer the child a graphic drawing, which he will begin to fill with colored blanks and volume application will come out.
Share
Pin
Tweet
Send
Share
Send


