Share
Pin
Tweet
Send
Share
Send
1. We will need:
• Santa Claus hats - 6 pcs *.
•Needle.
•Scissors.
• Threads.
* 4 caps per skirt and 2 caps for poinsettia flowers.
2. Unzip 4 caps on one side seam. The second seam is left untouched.

3. Cut the circle in the center. Of course, the perfect option for sewing when your tree is already standing still and you can try on a skirt while sewing. I made a central neckline at random.

4. The next step is to sew and combine all the details of the future skirt.

5. Please note: the skirt for the Christmas tree is sewn with a smell. One edge remains open (not stitched). Well, the foundation is ready.

6. Next, the preparation of flowers begins. Unpair the white edging from the remaining caps and cut into such fragments 2-3 cm wide.

7. While the part is in a folded state, we give it the shape of such a leaf.

8. This photo shows how to fold a leaf of a future flower. (It’s not necessary to flash it yet.)

9. Next, bend it in half and begin to form a flower.

10. Add the second part, folded in the same way.

11. It remains to sew the third part and stretch the thread through the first petal. DIY poinsettia is ready.

12. Spread the petals and prepare another 6 of the same flowers. To decorate the capes on the tripod, you need 7 flowers.

13. When I was about to throw out the remnants of poinsettia, then the following idea came to mind - to make small flowers out of them.

14. She gathered six petals on a string and tightened tightly.

15. These are quite nice little flowers. They must be made in the amount of 7 pieces.

16. This is a photograph to compare the size of a large and small flower.

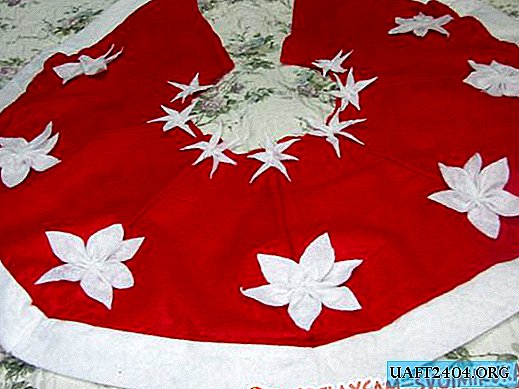
17. Attach poinsettia flowers to the skirt.

18. Sew not in the middle, but closer to the outer edge.

19. The central neckline is decorated with small flowers. Uncomplicated, but beautiful wrap on the Christmas tree, or rather, on the cross is ready.

Share
Pin
Tweet
Send
Share
Send

