Share
Pin
Tweet
Send
Share
Send
For the manufacture we need:
• A3 sheet of pastel paper in light gray;
• Two sheets of scrapbook paper from the theme of world travel;
• Two transparent covers, one for the passport 9.2 * 12.8 cm and for the set-off 11.3 * 15.4 cm;
• Dark brown lace lace;
• Brown ribbon of rep 0.5 cm wide;
• Two metal corners in silver;
• Two identical pictures with a fashionable girl 5 * 5 cm in size;
• The inscription "Gradebook";
• Acrylic stamp "Passport" and ink in gold and black;
• Brown pearl half beads;
• Figured curb hole punch;
• Needle with thread;
• Beige and brown flower from felling;
• Tools: simple pencil, double-sided tape, ruler, PVA glue, scissors, glue gun.
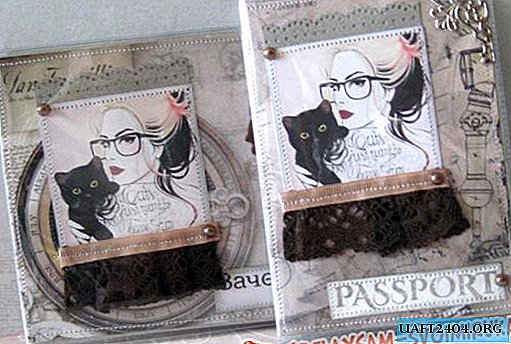

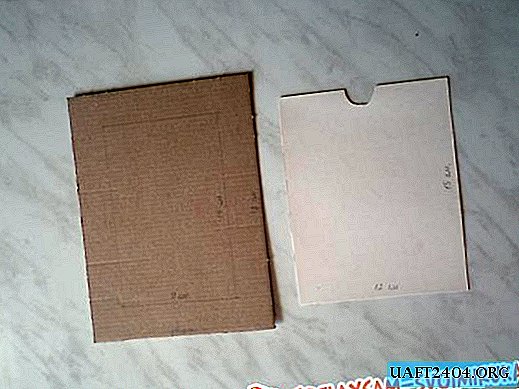
We take the pastel and cut out two rectangles of 12.7 * 18.3 cm and 11.3 * 30.6 cm in size. These will be the rectangles for the base of the covers.


We lay out each rectangle alternately on a solid surface, you can put it on a book and make a scoring under the ruler using scissors, dividing each rectangle in half.


Both basics are ready, try them in transparent covers.


We take two sheets of scrapbook paper and cut out such blanks, it turns out from each sheet we cut one blank for each cover.


We stamp Passport on white cardboard, cut and tint in gold ink. We left a piece of gray paper from the base, we pass along the edge with a curb hole punch and we get paper lace. Glue on the top of each blank a strip of lace, then on the picture with the girl.


Aging both inscriptions with a gold pad.


Glue them at the bottom of each cover. Sew on typewriting around the edge.


Cut off a strip of brown lace of 10 cm, fold it with folds and sew it first by hand.


From the top of the lace we cut off 6 cm rep ribbons and apply them to the lace, wrapping them under the picture. We sew the ribbons and the pictures themselves around the edge. We glue all the prepared figures from scrapbook paper onto the base.


Separately, each side is sewn with a machine.


Glue the remaining decor now. First, we attach a large flower to the set-off, then a small, brown half-bead in the center. We attach metal corners at the top of each cover. The remaining half beads are glued, as in the photo.


We put the covers in transparent, done. We get such fashionable and bright covers for a young girl! Thank you, enjoy it with pleasure.

Share
Pin
Tweet
Send
Share
Send

