Share
Pin
Tweet
Send
Share
Send
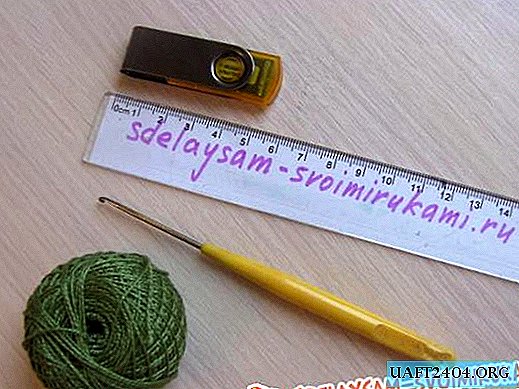
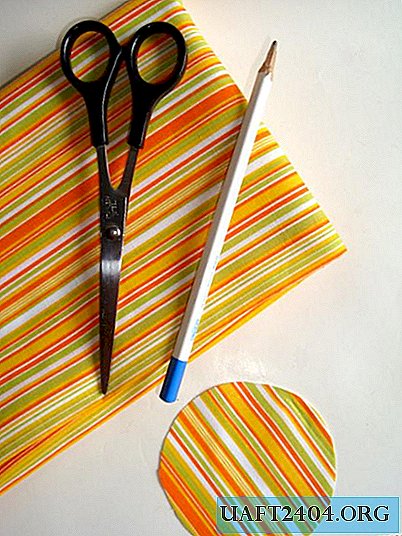
For work, we need:
• the cloth
• small jar
• cardboard
• foam rubber
• scissors
• glue
• pencil
• threads
• needle
• ribbons for decoration

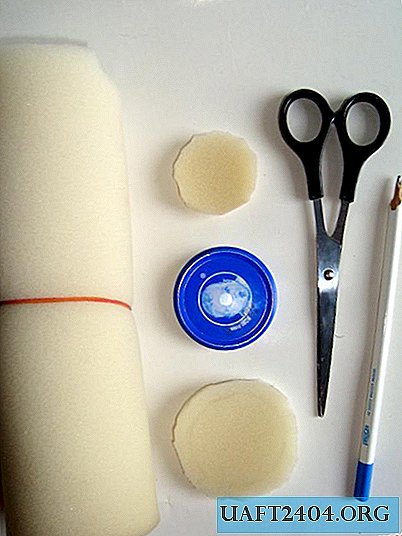
Cut a circle of cardboard equal in size to the top surface of your lid. I have a cover with a diameter of 5 cm.

As a filler, I will use foam rubber. If you prefer a different filler, then you can skip the next step. But if you, like me, decided to opt for foam rubber, then you need to cut 2 circles, one circle 5 mm smaller than the diameter of the lid, the second 1-2 cm larger than the diameter of the lid. This is done so that the cap of our needle bed is more voluminous and soft.
We take the fabric. You can take absolutely any fabric that can be found in your home. Cut a circle twice as large as the top surface of the lid. For my cover it is 10 cm.
We sew around the edges with ordinary, simplest stitches.
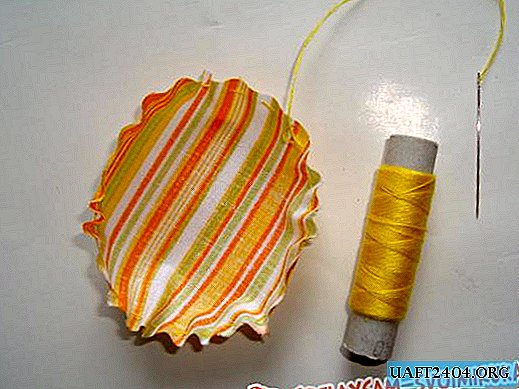
We begin to shape the cap of our needle bed. To begin with, we put a circle of foam rubber that is larger in size.

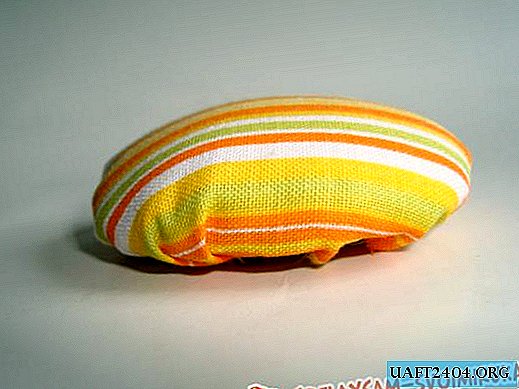
Then the one that is smaller in size and covered with a circle of cardboard. Gently tighten the thread and securely fix it.

This is such a fun hat.
Glue it to the lid. I use the glue the moment, you can take the glue that you most trust.

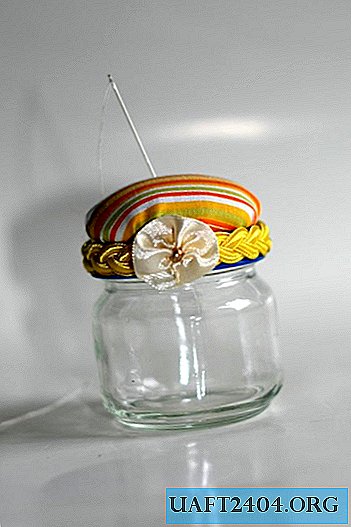
Decorate a jar. Speaking of a jar. I have it from under baby food, 6 cm high, 5 cm in diameter. In such small jars, honey is often still sold if you cannot find it in the baby food department.
We take a decorative tape, glue the lid. You can use beads, lace, satin ribbons - everything your imagination will tell you ... well, or whatever is at home.
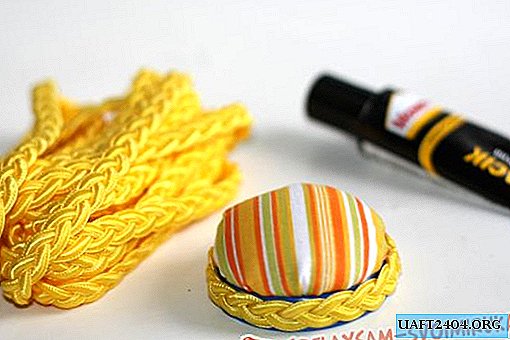
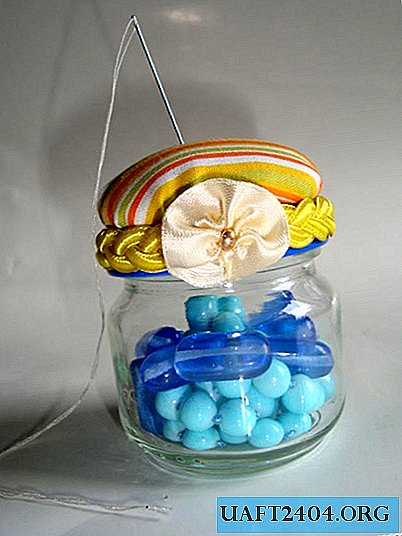
The place of the tape’s junction is hidden under the bow. Our needle bar is ready!
I use the surface of the needle bar for its intended purpose, and inside I store glass beads.

Because If I am fond of embroidery, I prefer to keep my embroidery needles separate from ordinary needles. For this, I have another needle bar.

It is made exactly the same as the first. The only difference is that inside I placed exactly the same hat that we glued to the lid. Thus, my embroidery needles are always in a safe place and are not confused with others.
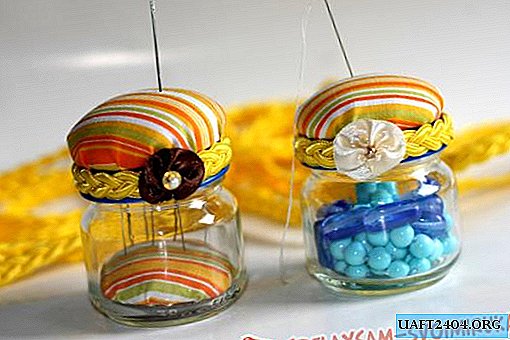
These are the cute little things we've got. You can also make such a needle bed as a gift to your friend needlewoman. Be sure, any needlewoman will be happy!
Share
Pin
Tweet
Send
Share
Send